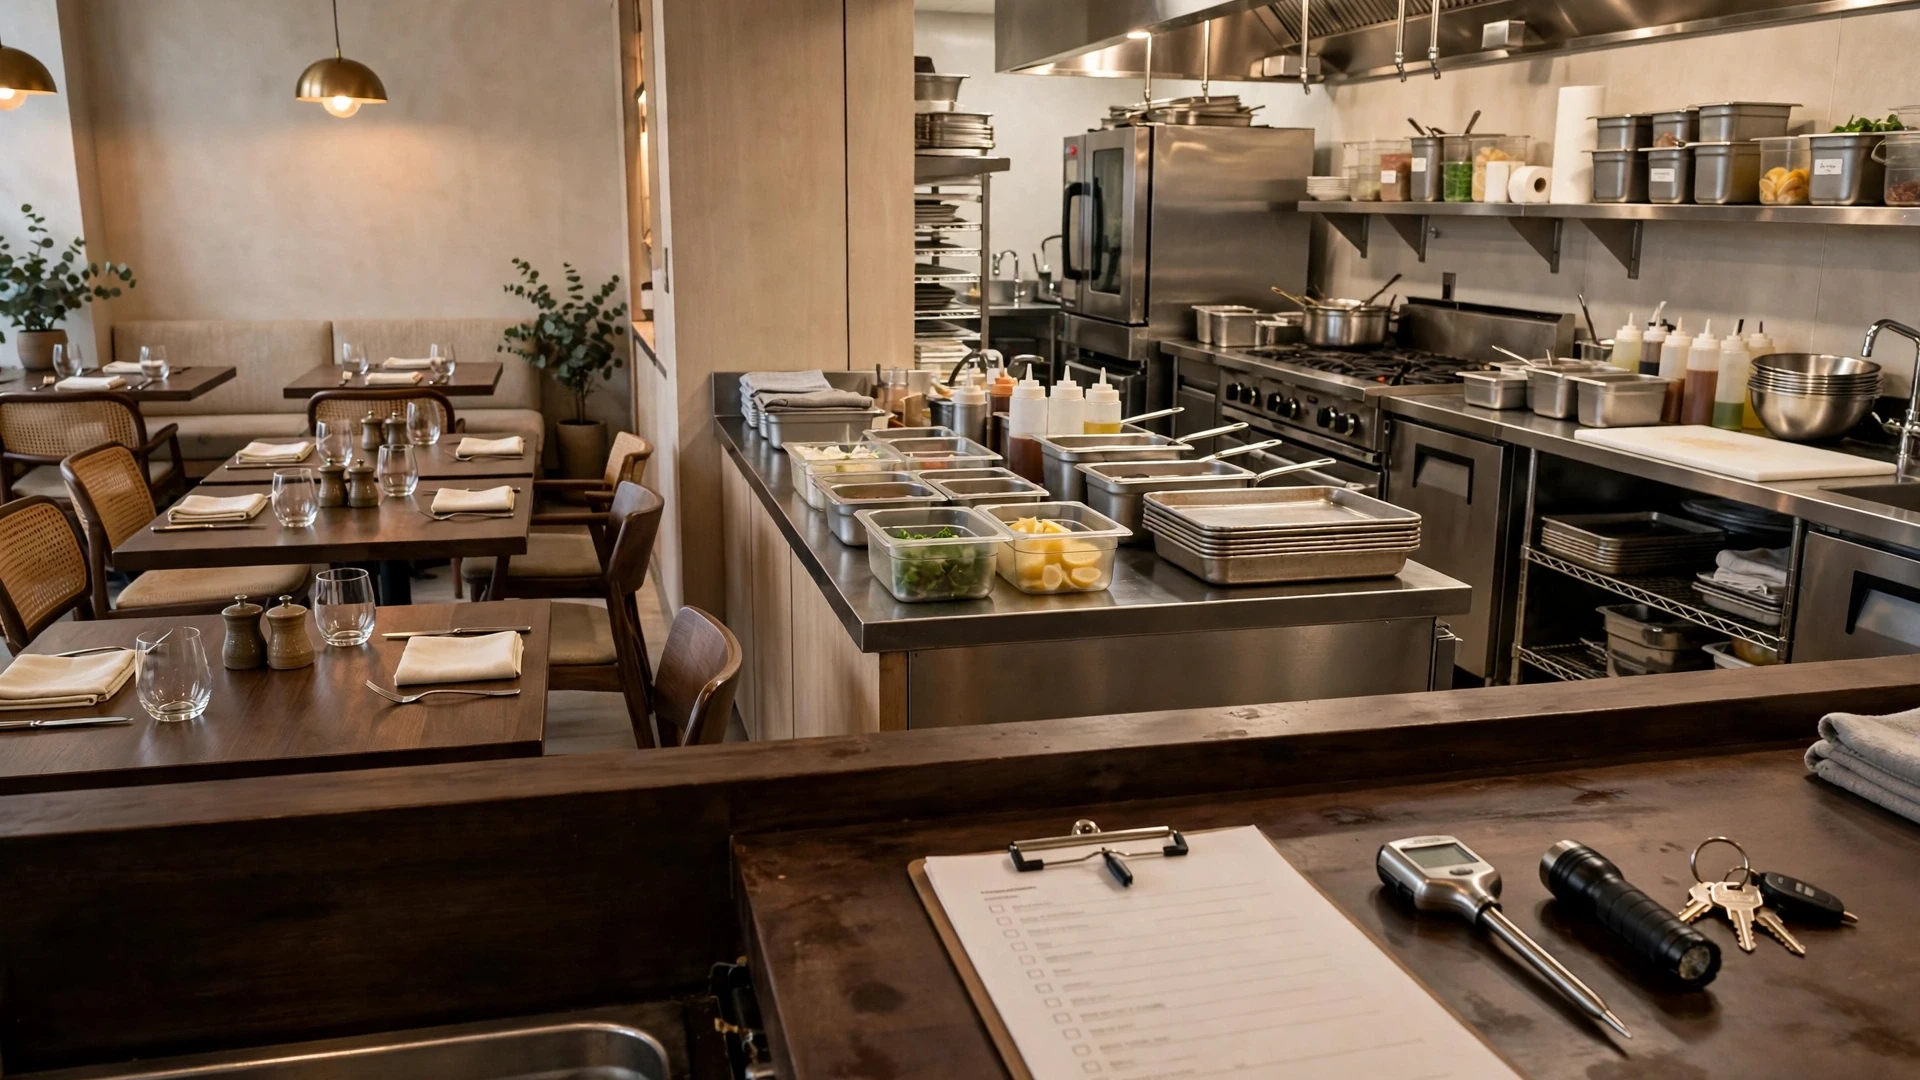
What a Daily Manager Walk-Through Actually Is
A restaurant daily manager walk-through is a repeated, structured inspection the manager on duty performs at set points in the shift: before service, mid-service, and near close. It follows the same physical route each time and checks the same control zones. The goal is not to confirm that tasks were done. The goal is to find exceptions, which are anything drifting away from standard, and turn each one into an owned action with a recheck time.
Done well, the walk-through is the manager’s control loop. Checklists record that work happened. The walk-through tests whether the operation is actually holding up under real conditions, with real guests and real volume.
How It Differs From Opening Checklists and Pre-Service Readiness
Many operators blur these three tools together, and the walk-through usually suffers. Each tool has a different job:
Keep using your opening and closing checklist and your pre-service readiness checklist. The walk-through sits on top of them and checks whether their results still hold hours later.
The Three-Round Daily Structure
Round 1: Before Service
Run this after prep is largely done but before doors open, so there is still time to fix issues. Focus on prep levels against forecast, station setup, staffing gaps, equipment that is running warm or loud, and the condition of the dining room and restrooms. Confirm 86 risks early so servers aren’t surprised mid-rush.
Round 2: Mid-Service
This is the round most managers skip, and it matters most. Walk the route during real volume. Look at ticket times, plate quality at the pass, table turns, staff positioning, and spillover problems like a backed-up dish pit. Keep it short and avoid getting pulled into a single station for twenty minutes.
Round 3: Near Close
Do this before the closing crew breaks down. Check waste and leftover prep, cash and void exceptions, open issues from rounds one and two, and anything the next shift needs to know. Its findings feed directly into your manager logbook and shift handover.
Use a Consistent Physical Route
Walk the same path every time. A fixed route prevents the common habit of checking only the areas you’re comfortable with and ignoring the rest. An illustrative route for a full-service restaurant:
- Entrance, host stand, and exterior approach
- Dining room and bar
- Restrooms
- Expo and pass
- Hot line and cold stations
- Dish area
- Walk-in, dry storage, and receiving door
- Office, POS terminals, and cash area
Adjust the order to your layout, but once it’s set, keep it. Consistency is what makes changes stand out.
The Seven Control Zones
Along the route, the manager looks through seven lenses. Not every zone matters equally in every round, but all seven should be considered.
1. Guest-Facing Condition
Cleanliness, lighting, music level, temperature, restrooms, and table settings, seen from the guest’s eye line.
2. Service Flow
Wait times, greeting speed, table pacing, bussing, and whether sections are balanced.
3. Kitchen Execution
Ticket times, plate consistency, portioning, holding temperatures, and station cleanliness.
4. Inventory and Availability
Prep par levels, likely 86s, product rotation, and visible waste.
5. Labor Deployment
Who is where, idle or overloaded positions, break timing, and early cuts or call-ins.
6. Safety and Facility
Wet floors, blocked exits, equipment faults, refrigeration temperatures, and pest signs.
7. Cash, Systems, Exceptions
Voids, comps, discounts, open checks, drawer variances, and POS or printer problems.
Equipment issues found in zone six should feed into your equipment maintenance checklist rather than living only in someone’s memory.
The Exception Workflow: Evidence → Impact → Action → Owner → Recheck
Every exception should move through five steps. Skipping any of them is how problems resurface the next day.
- Evidence: What did you see, specifically? “Fry station tickets backing up, six on the rail” beats “kitchen slow.”
- Impact: What does it affect: guests, safety, cost, or compliance?
- Action: The concrete fix, plus a containment step if the fix takes time.
- Owner: One named person, not “the kitchen.”
- Recheck: A time or round when you’ll verify it’s resolved.
An Illustrative P1/P2/P3 Priority System
Priorities stop managers from spending ten minutes on a crooked menu board while a cooler warms up. The thresholds below are examples; set your own based on your concept and local requirements.
The Exception Log Table
Record exceptions in a simple log. The format below works on paper, a shared sheet, or an app.
Unresolved items carry into the next shift through the manager logbook, and patterns become visible when you review the log weekly alongside the daily sales report.
One-Page Manager Walk-Through Worksheet
Keep the worksheet to a single page so it actually gets used. A practical layout:
- Header: Date, manager on duty, forecast covers, scheduled staff
- Round boxes: Three columns (R1, R2, R3) with start time and initials
- Zone grid: Seven rows, one per control zone, marked OK or with an exception number
- Exception log: Numbered lines using the columns shown above
- Handover box: Open items, owners, and anything the next manager must check first
Mark zones as “OK” only when you actually looked. A blank box is more honest than a habitual tick.
The Five-Minute Mid-Shift Manager Test
When volume makes a full round unrealistic, run this compressed check. Ask yourself, in about five minutes:
- Are tickets at the pass within our normal range, or stacking?
- Is any guest visibly waiting without being acknowledged?
- Is any item close to running out?
- Is anyone idle while another position is drowning?
- Is there any safety hazard on the floor or in the kitchen?
- Have there been unusual voids, comps, or POS errors?
Any “yes” becomes an exception with an owner. If everything is “no,” you’ve earned confidence, not assumed it.
What the Manager Should Do Immediately After Each Round
Do not finish the walk-through by putting the clipboard down. Use a short closeout routine so observations turn into action:
- Circle the highest-priority exception. Deal with P1 items first and isolate any immediate risk.
- Assign one owner per open item. Avoid shared ownership such as “FOH team” or “kitchen.” Name the person responsible for the next action.
- State the expected result. “Restock glassware” is weaker than “two full backup racks at station by 6:00 PM.”
- Set the recheck time. Use a clock time, the next round, or another clear trigger.
- Communicate only what the team needs. If an 86, section change, equipment restriction, or guest-impact issue affects service, brief the relevant people immediately.
- Recheck evidence, not promises. Look at the station, ticket rail, temperature record, stock level, or other proof that shows the condition changed.
- Close, escalate, or hand over. Mark the item closed only when verified. If it cannot be fixed this shift, escalate it and carry the evidence into the next manager handover.
For example, if the mid-service round finds six delayed grill tickets, the manager may move a cross-trained cook for 15 minutes, have expo pace new fires, and set a 10-minute recheck. The recheck should confirm whether the rail actually cleared and whether new tickets are flowing normally. If not, the action changes; the issue does not simply remain “in progress.”
Common Mistakes
- Turning it into a task checklist. Re-ticking opening tasks adds nothing. Look for drift.
- Skipping round two. Mid-service is when most control failures happen.
- Fixing everything personally. The manager who jumps on the line stops managing. Assign owners.
- Vague evidence. “Looks messy” can’t be acted on or verified.
- No recheck. Without verification, exceptions quietly become the new normal.
- Changing the route. A rotating path hides gaps.
- Ignoring the numbers. Repeated waste, overstaffing, or comps on the floor usually show up in cost figures later.
Implementation Checklist
- ☐ Define your fixed route on a floor plan
- ☐ Set round times for each daypart
- ☐ Adapt the seven zones to your concept
- ☐ Write your own P1/P2/P3 examples
- ☐ Print or digitize the one-page worksheet
- ☐ Train every manager together on one live shift
- ☐ Connect open items to the shift handover
- ☐ Review the exception log weekly for repeats
Frequently Asked Questions
How long should each round take?
It depends on size and layout. Many managers aim for a brief, focused round rather than a long audit; time your first week and set a realistic target from that.
What if I’m working a station during the rush?
Use the five-minute test, or delegate round two to a shift lead with the same worksheet. The routine matters more than who holds the clipboard.
Should owners do walk-throughs too?
Occasionally, yes, using the same route and worksheet. That keeps standards consistent and lets owners verify the log rather than rely on reports.
Paper or digital?
Either works. Choose what managers will reliably complete and what makes weekly review easy.
How do I stop it becoming box-ticking?
Review logs regularly. If a busy week shows zero exceptions, ask questions. Real operations always produce some.
Turn Repeated Exceptions Into System Fixes
The daily walk-through becomes much more valuable when managers review repeated exceptions rather than treating every problem as a one-off. At the end of the week, scan the log for patterns: the same station running short, the same equipment fault, repeated voids, the same handoff failing, or the same labor mismatch at the same daypart.
For each repeated issue, separate the immediate correction from the system correction. Refilling a server station fixes tonight. Changing the par, restocking time, or station ownership fixes the process. Calling maintenance addresses a fryer problem today; adding the item to a preventive maintenance routine reduces the chance of the same failure returning. Use the restaurant equipment maintenance checklist when a recurring defect involves equipment rather than execution.
Use the restaurant daily sales report to compare floor observations with sales, discounts, comps, labor, and other shift data. When an unresolved issue crosses shifts, carry it through the restaurant manager logbook and shift handover instead of relying on verbal memory.
Build the Walk-Through Into the Daily Operating Rhythm
The routine works best when it connects to controls you already use rather than becoming another isolated form. The opening and closing checklist creates the baseline. The pre-service readiness check confirms the restaurant can open. The walk-through then tests whether those standards survive real service conditions.
A simple rhythm is: opening tasks completed → pre-service readiness verified → first manager round → mid-service round → near-close round → unresolved items handed over → next shift rechecks. That sequence gives the manager a visible control loop instead of a collection of unrelated checklists.
Do not add more fields unless they improve a decision. If managers stop completing the sheet, reduce duplication. If they complete it perfectly but problems keep repeating, strengthen the weekly review. The value of the walk-through is not the paper; it is faster detection, clear ownership, and verified correction.
Summary and Next Step
A daily manager walk-through is three rounds, one route, seven zones, and a disciplined exception workflow. It complements your checklists by testing whether standards hold under pressure. Start this week: map your route, print the worksheet, run all three rounds on your next shift, and review the exceptions at the end of the week for one system change worth making permanent.
Check the Numbers Behind What You See
Waste, overstaffing, or heavy comps on the floor often show up in your costs. Our free calculators help you check food cost, labor, prime cost, break-even, profit margin, or inventory figures.