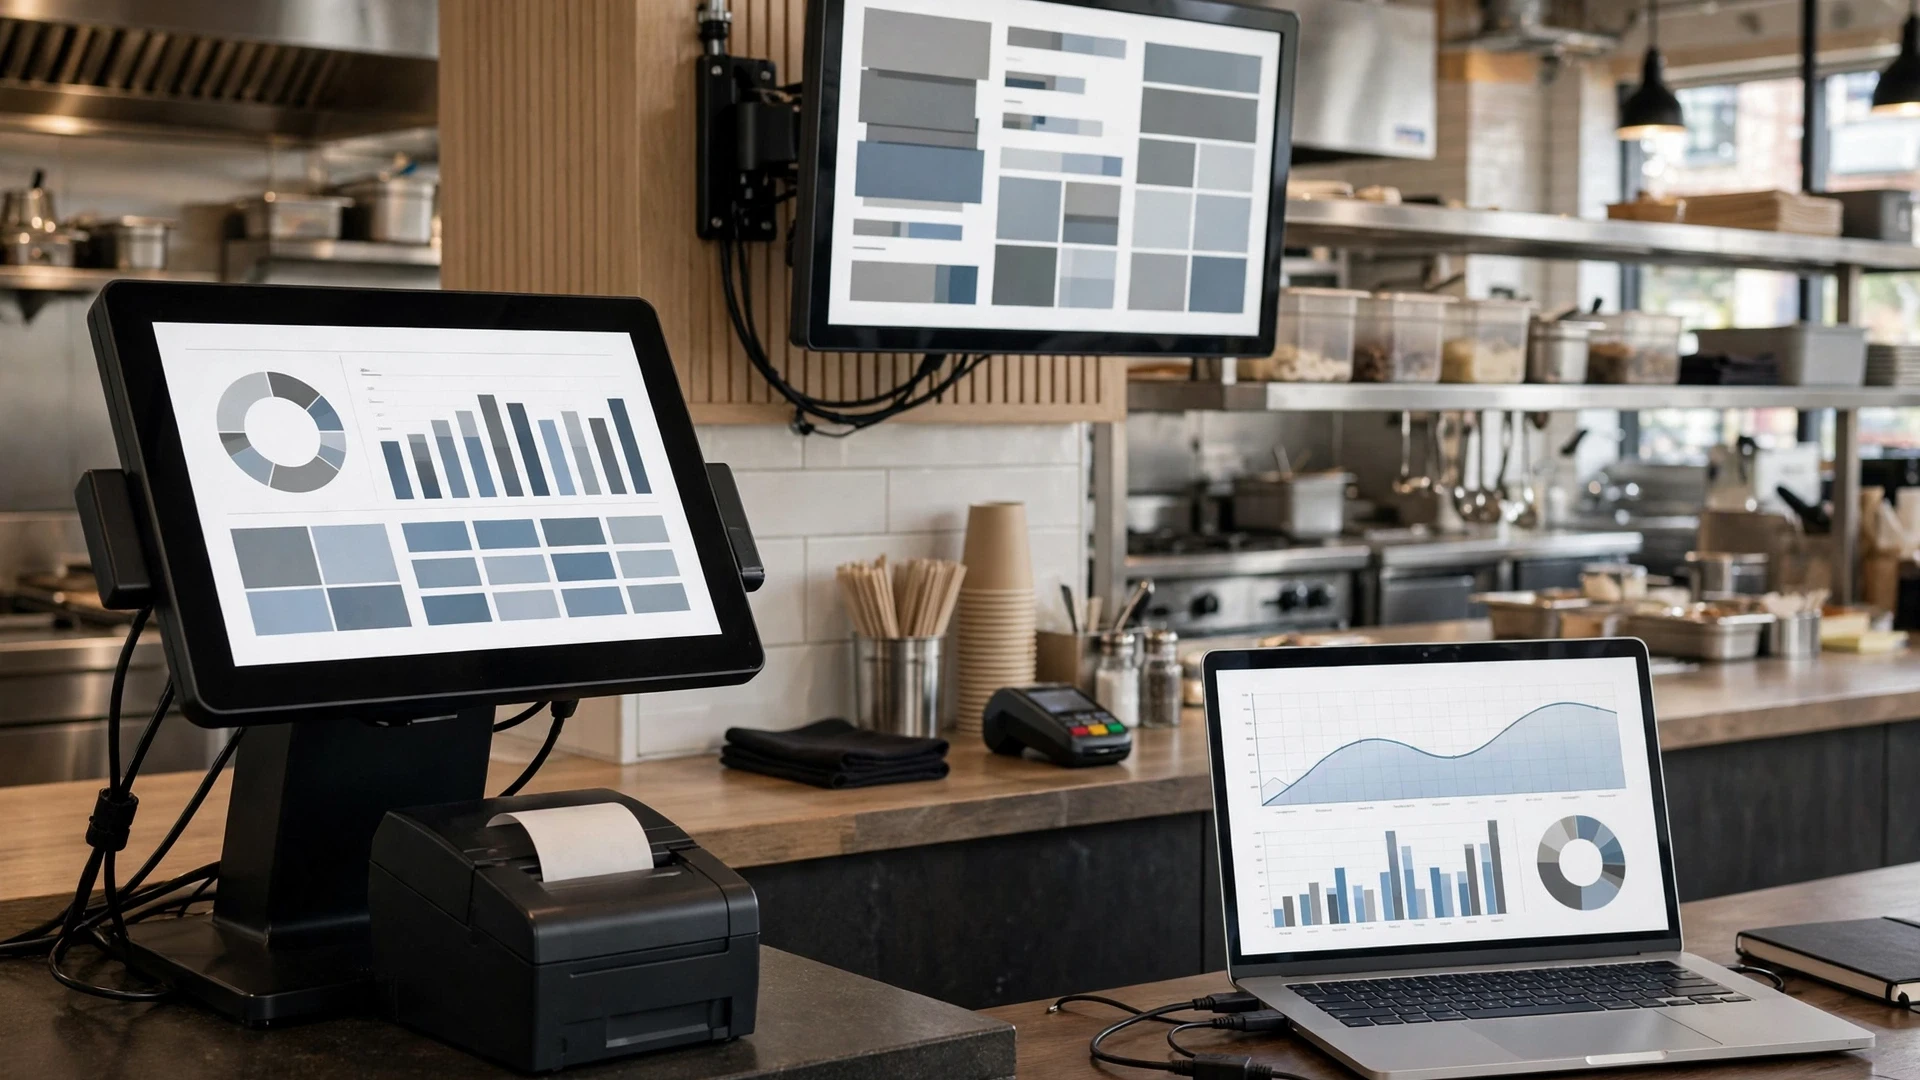
The POS menu is one of the most important records in a restaurant, and often one of the least controlled. Items are added in a rush before a launch, prices are changed by whoever has the manager login, modifiers multiply until nobody knows which ones are used, and kitchen routing is fixed by trial and error during service. The result shows up everywhere: wrong prices on receipts, tickets going to the wrong station, sales reports that split one dish across three item names, and food cost reports that cannot be trusted.
Quick answer: treat the POS menu as a controlled master record. Use a consistent naming and category structure, give each item a clear owner for price and recipe, route items deliberately to kitchen stations, keep modifiers lean, and make every change through a short request, test and approval process with a change log. Audit the menu on a regular schedule against the printed menu, recipes and sales data.
Why the POS menu needs controls
Every report built from POS data depends on the menu setup. Product mix, average check, theoretical food cost, discount analysis and labor productivity all assume that items are named, categorized and priced correctly. When the menu is messy, the reports are messy, and managers start making decisions on unreliable numbers.
The POS menu also controls the guest experience directly. A wrong price, a modifier that does not reach the kitchen or an item routed to the wrong printer is visible to guests within minutes. Controlling the menu setup is one of the cheapest ways to improve both data quality and service.
Step 1: define a naming and category structure
Agree on one structure and apply it to every item:
- Item names that match the printed or online menu closely enough that staff and guests recognize them, with a short kitchen name where needed for tickets.
- Categories that support reporting: for example, appetizers, entrées, sides, desserts, non-alcoholic beverages, beer, wine and spirits. Avoid categories based on screen layout alone.
- Reporting groups that roll up to the lines in your P&L, so food and beverage sales can be matched with food and beverage cost.
Avoid creating duplicate items for the same dish, such as “Burger,” “Burger NEW” and “Burger (Lunch).” If you need to track a dish by daypart or channel, use the POS’s daypart or order-type reporting rather than separate items where your system allows it.
Step 2: assign ownership for price and recipe
Each item should have a named owner for its price (usually the owner or general manager) and its recipe (usually the chef or kitchen manager). The POS should not be the place where prices are decided; it is where approved prices are recorded. The menu price increase plan describes how to decide prices, and recipe version control keeps the recipe that drives cost in step with what is sold.
Limit who can edit menu items in the POS. Many systems allow menu permissions to be separated from other manager functions. Fewer editors means fewer accidental changes and a clearer audit trail.
Step 3: route items deliberately
Kitchen routing decides which station or printer receives each item and modifier. Poor routing causes missed items and timing problems that look like cooking issues. For each item, record:
- the station that prepares it,
- whether it should also appear on the expo screen or ticket,
- any course or timing setting,
- which modifiers must print or display at the station.
Test routing whenever an item is added or a station changes. The KDS workflow guide and expo station control explain how routing affects ticket flow and plate accuracy.
Step 4: keep modifiers lean and meaningful
Modifiers are where POS menus grow out of control. Over time, a burger can collect dozens of options, many of them duplicates or unused. Review modifiers with three questions:
- Is it used? Check sales data for how often each modifier is selected.
- Is it priced correctly? Paid add-ons should be priced from recipe cost; see modifier profitability.
- Does the kitchen need to see it? Modifiers that change preparation, allergens or portions must route to the station clearly.
Allergy and dietary modifiers deserve special attention. They should be easy for servers to find, print prominently on tickets and never be buried in free-text notes. Free-text notes are useful, but they should not be the only place critical information lives.
Step 5: control every change
A simple change process prevents most POS menu errors:
- Request: the person asking for the change writes what should change, why and from what date.
- Approve: the price or recipe owner approves it.
- Build: an authorized editor makes the change, ideally before service.
- Test: ring the item on a training or test check, confirm the price, the category and the routing to the correct station, then void the test check according to your void policy.
- Log: record the date, item, old value, new value, who approved and who built it.
The change log does not need special software; a shared spreadsheet works. Its value appears weeks later when someone asks why a report changed or when a price was updated. For new items, connect this process to your menu rollout checklist.
Step 6: audit on a schedule
Even with a change process, the menu drifts. Schedule a full audit, such as quarterly, and a smaller check after every menu change. Compare:
- POS prices against the printed and online menus,
- POS item list against the current recipe list,
- items with zero sales in the last 60 or 90 days (candidates for removal or hiding),
- category and reporting group assignments,
- routing and modifier printing for a sample of items,
- which staff accounts can edit the menu.
Online ordering and delivery menus often have their own prices and item lists. Include them in the audit, and see online ordering integration for how menu syncing can reduce mismatches.
Design server screens for speed and accuracy
The order-entry screen is a working tool for servers and cashiers, and its layout affects both speed and errors. Group buttons in the order guests usually order, keep the highest-selling items on the first screen, and place required modifiers, such as cooking temperature or side choice, as forced prompts so they cannot be skipped. Hide or remove inactive items instead of leaving them in place with a “do not use” label.
Keep layouts consistent across terminals and order types where possible. If dine-in and takeout screens are arranged differently, staff who move between them will make more mistakes.
Train staff on every menu change
A correct POS change can still fail if staff do not know about it. For each change, tell servers and cooks what changed, from when and where it appears on the screen or ticket. A short note in the pre-shift meeting is usually enough. For larger menu changes, give staff a few minutes to ring practice orders on a training mode before service.
Hypothetical example: three duplicate burgers
The following example is hypothetical and uses illustrative numbers.
A restaurant’s product mix report shows three burger items: “Classic Burger” (410 sold last month), “Burger” (95 sold) and “Classic Burger – Lunch” (220 sold). The first two are priced at $16.00; the lunch item is still at last year’s price of $15.00 because it was missed in the last price change. Each has a different modifier set, and one does not route the cheese modifier to the grill.
The audit merges the three into one item at $16.00 with a single modifier set and correct routing, and moves lunch tracking to daypart reporting. Product mix now shows 725 burgers in one line, making menu engineering decisions possible. Correcting the missed price on 220 lunch burgers adds about $220 a month, roughly $2,640 a year, and the cheese routing fix ends a recurring remake. The team also removes 31 modifiers that had not been used in 90 days.
Common mistakes
- Creating new items instead of editing existing ones, which splits sales history.
- Letting several managers change prices without approval or a log.
- Updating the printed menu but not the online ordering menu (or the reverse).
- Relying on free-text notes for allergies.
- Skipping a test ticket after routing changes.
- Keeping inactive items visible, cluttering server screens.
POS menu control checklist
- Naming and category standard written and applied
- Reporting groups aligned with P&L lines
- Named price and recipe owners for every item
- Menu editing restricted to authorized users
- Routing recorded and tested for each item
- Modifiers reviewed for use, price and kitchen visibility
- Change request, approval, test and log for every edit
- Scheduled audits covering POS, printed and online menus
Next step
Export your POS item list with prices, categories and last-90-day sales, and compare it line by line with your current printed menu. Mark duplicates, wrong prices and unused items, then fix them in one controlled session before a slow service. Start a simple change log the same day, and review your setup alongside POS integration and the restaurant analytics dashboard so the reports built on it can be trusted.
Operational note: The figures in this article are illustrative. POS features such as permissions, routing and daypart reporting vary by system; check your provider’s documentation for how to configure them.